
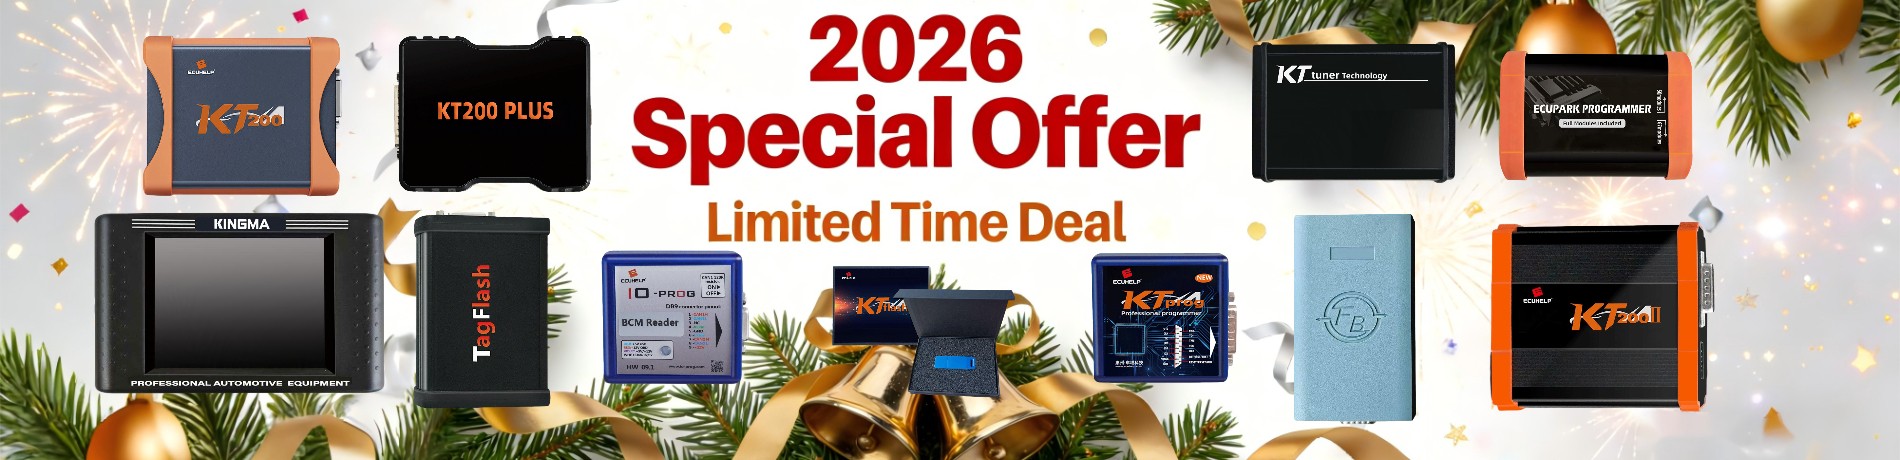
If you just purchased the KT200II ECU programmer (Basic / Full / Final Version) and don’t know how to finish hardware connection, software installation, driver activation and first-time calibration, this full step-by-step tutorial will walk you through every operation. We are the original manufacturer of KT200II, all guidance is matched with genuine official hardware and software from https://autoecumaster.com/
Table of Contents
- Pre-Install Preparation & PC Requirements
- Unpack & Check All Accessories (3 Versions Difference)
- Step 1: Hardware Physical Connection
- Step 2: Software Download & Installation
- Step 3: Manual Driver Installation Guide
- Step 4: Offline Dongle Activation (Full & Final Version Only)
- Step 5: KT200 Plus Install (KT200II Final Version Exclusive)
- Step 6: Bench Box Self-Test Before ECU Operation
- Step 7: First ECU Read/Write Test (OBD & Bench Modes)
- Common Installation Troubleshooting
- Official Purchase & Support Channels
1. Pre-Install Preparation & PC System Requirements
Before starting installation, prepare your Windows PC to avoid installation failure:
- Supported OS: Windows 7 / 8 / 8.1 / 10 / 11 (64-bit recommended)
- Minimum Hardware: Intel i5 CPU, 8GB RAM, 15GB free space on C drive
- Critical Pre-Settings:
- Temporarily close Windows Defender, antivirus and firewall (software will be misjudged as risky file)
- Disable driver signature enforcement on Win10/11 to avoid driver installation failure
- Use stable wired USB port 3.0; avoid USB hubs for the main unit connection
2. Unpack & Check Accessories (3 KT200 Versions Comparison)
We supply three editions for different workshop demands, each with different accessory packages:
KT200II Basic Car Version
Purchase link: https://autoecumaster.com/product/kt200ii-basic-car-version/ Package includes: KT200II host, Bench Box, OBD orange/blue/black cables, basic pin harness, power adapter, standard pin set. Limitation: No offline dongle, only online operation, only passenger car ECU coverage.
KT200II Full Version (With Offline Dongle)
Purchase link: https://autoecumaster.com/product/kt200ii-full-version/ Extra accessories vs Basic: Official offline dongle, full rainbow harness, complete pinout pack, hard storage carry case. Advantage: Supports cars, trucks, motorcycles, tractors, marine engines; works offline without internet.
KT200II Final Version (KT200II Full + KT200 Plus Combo)
Purchase link: https://autoecumaster.com/product/kt200ii-final-version/ Fullest package: All Full Version accessories + independent KT200 Plus programmer, extra J2534 cable, one-year free KTflash license pre-activated. Exclusive function: Native DTC OFF, IMMO OFF, TPROT OFF without third-party software, dual-device simultaneous work.
Full product parameter page: https://autoecumaster.com/kt200ii/
3. Step 1: Hardware Physical Connection
Follow this wiring sequence strictly to prevent device short circuit:
- Connect the data cable between KT200II main unit and Bench Box
- Plug the power adapter into Bench Box power port and connect to wall socket
- Link KT200II host to laptop via original USB cable (directly plug into PC USB 3.0)
- For offline versions: Insert the offline dongle into another spare USB port on PC
- OBD operation preparation: Match corresponding OBD cable to vehicle OBD port
- Bench ECU operation: Connect rainbow harness to Bench Box pinout slots as per software wiring diagram
Warning: Do not connect ECU power before finishing all tool hardware wiring.
4. Step 2: Software Download & Installation
Step 4.1 Get Official Installation Package
All genuine KT200II users can download the latest 2026 software from our official website https://autoecumaster.com/ software download section. Contact our WhatsApp support (+8613075290269) if you cannot find the file.
Step 4.2 Install Operation Steps
- Extract the compressed installation file to non-C drive folder (Do not use Chinese folder name)
- Right-click
Setup.exe→ Run as Administrator - Click Next to agree license, keep default installation path on C drive
- Wait for automatic file extraction (takes 3–8 minutes depending on PC performance)
- Complete installation, tick “Launch KT200II Service” and click Finish
5. Step 3: Manual Driver Installation Guide
Most connection errors come from missing hardware drivers, install manually as below:
- Keep KT200II USB plugged into PC, open Windows Device Manager
- Find unknown device marked with yellow exclamation mark (DFB serial device)
- Right-click → Update driver → Browse my computer for drivers
- Navigate to folder
C:\KT200\Driversinside installation directory - Click Next, system will auto match and install COM port drivers
- Restart KT200II Service program after driver installation finished
6. Step 4: Offline Dongle Activation (Full & Final Version Only)
Basic version skips this step; Full / Final users must activate offline dongle for offline work:
- Insert offline USB dongle to PC USB port
- Open KT200II Service software, click “Local Dongle Reading”
- Copy the hardware ID shown on interface, send to our WhatsApp +8613075290269
- Our technical team will send activation code remotely within 10 minutes
- Input activation code, click Bind, restart service software to enable offline protocol library
7. Step 5: KT200 Plus Install (KT200II Final Version Exclusive)
Only users who buy KT200II Final Version get KT200 Plus auxiliary programmer:
- Connect KT200 Plus hardware to separate PC USB port
- Install independent KT200 Plus installation package from official download page
- Open KT200 Plus software, capture device ID screenshot
- Send ID photo to our WhatsApp for one-year license activation
- After activation, KT200 Plus can run independently for fast OBD tuning when your main KT200II works on bench ECUs
8. Step 6: Bench Box Self-Test (Mandatory Before ECU Flashing)
Always test Bench Box to avoid ECU brick damage during read/write:
- Open main KT200II operation software
- Click “Select Driver” → BENCH MODE → TOOLS BENCH MODE → TEST BENCH BOX V2
- Disconnect all ECU wiring, keep only Bench Box power and data cable
- Click “Start Test”, you will hear relay clicks and LED flashing
- If prompt “Test OK”, Bench Box works normally; if failed, recheck power and data cables
9. Step 7: First ECU Read/Write Test (Two Main Modes)
Mode A: OBD In-Vehicle Programming
- Connect KT200II OBD cable to car 16pin OBD port
- Turn vehicle ignition ON (engine shut down)
- In software, select vehicle brand, ECU model, OBD mode
- Click Identify to read ECU basic info, then execute Read Flash/EEPROM
- Save original data backup to local disk before any writing operation
Mode B: Bench Off-Board ECU Programming
- Remove ECU from vehicle, fix on workbench
- Follow software built-in wiring diagram to match rainbow harness pins
- Start Bench Box test confirmed earlier
- Select corresponding Bench driver in software
- Complete read, data modify, write and verification flow
10. Common Installation Troubleshooting
- Software cannot open: Check antivirus is fully closed, reinstall drivers as admin
- Bench Box not detected: Replace USB cable, redo bench self-test
- Offline library missing: Re-send dongle ID to support for re-activation
- Slow software loading: Free up C drive storage, use wired internet
- ECU write failure: Check stable 12.5V power supply, double pin wiring
11. Official Purchase & After-Sales Support
We are the direct manufacturer of KT200II series tools, all products ship free worldwide with 7–10 days international delivery:
- Official Homepage: https://autoecumaster.com/
- KT200II Full Spec Page: https://autoecumaster.com/kt200ii/
- KT200II Basic Car Version: https://autoecumaster.com/product/kt200ii-basic-car-version/
- KT200II Full Version (Offline Dongle): https://autoecumaster.com/product/kt200ii-full-version/
- KT200II Final Ultimate Combo: https://autoecumaster.com/product/kt200ii-final-version/
For installation remote guidance, software download links, wiring diagrams, bulk wholesale price negotiation and technical questions, contact us anytime via WhatsApp: WhatsApp: +8613075290269
Our technical team provides one-on-one remote assistance, lifetime free software & protocol updates for all genuine AutoEcuMaster KT200II buyers. Finish installation correctly following this guide, and you can start professional ECU chip tuning, cloning, DPF/IMMO repair work right away!